I wrote a post about how to expand the VM disk in Proxmox VE last year. Now I want to show you how to shrink the disk or reduce the size of the disk of VM in Proxmox VE.
Background information:
- Host: Proxmox VE 8.2.4
- Guest VM: VM 303
- The harddisk is 48GB
- Snap backup file is 34.60GB in zst format
- The purpose of this VM is Minecraft server

The used space in the VM disk is checked with the command df.
davidyin@minecraft:~$ df -hFilesystem Size Used Avail Use% Mounted ontmpfs 593M 1020K 592M 1% /run/dev/sda2 47G 11G 35G 24% /tmpfs 2.9G 0 2.9G 0% /dev/shmtmpfs 5.0M 0 5.0M 0% /run/locktmpfs 593M 12K 593M 1% /run/user/1000davidyin@minecraft:~$ |
Only 11GB was used of a total 47GB in /dev/sda2.
I prefer to reduce it to 20GB. I believe the backup file will also be smaller.
step 0
Backup! Backup! Backup!
Nothing more important than backup.
So, I repeated it three times.
Step 1
Prepare a Debian 12.1.0 live CD iso file. Upload to the ISO images folder of the Proxmox drive.
I am using debian-live-12.1.0-amd64-gnome.iso.
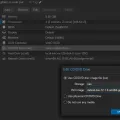
VM303 > Hardware > CD/DVD Drive(ide2), select “Use CD/DVD disk image file(iso). Choose the Storage and the ISO file.
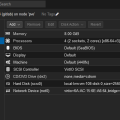
 VM303 > Options > Boot Order, move the “ide2” to the top.
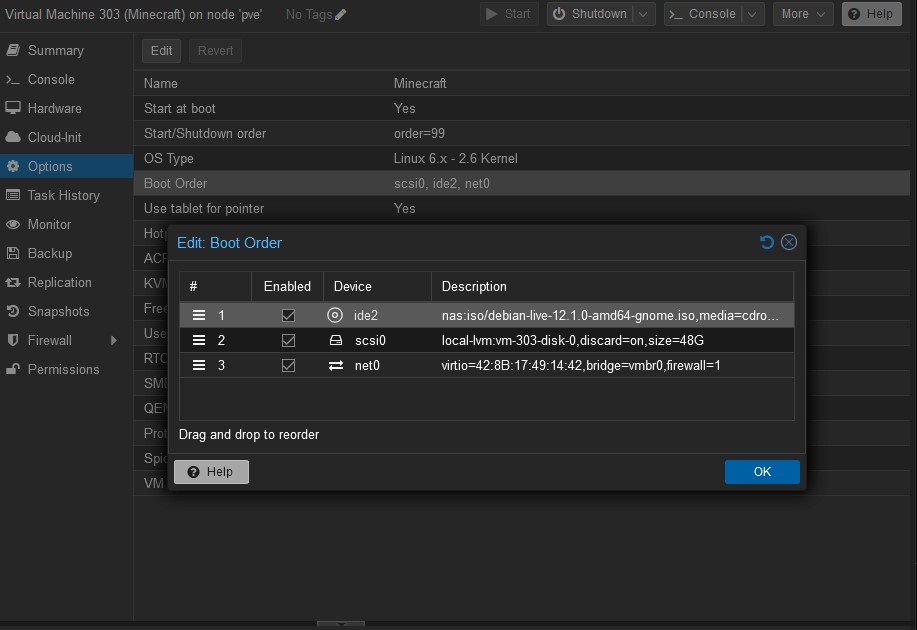
Reboot the VM303. Check Console.
Select Live system (amd64)
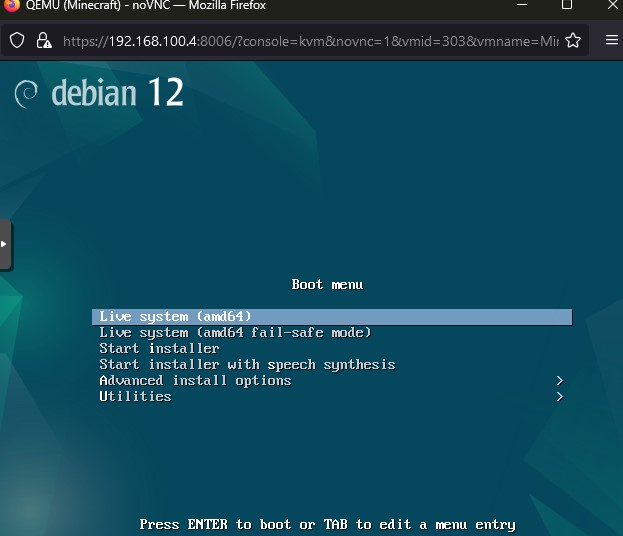
Wait, until the desktop.
Click the nine-dots icon to show the applications, then click Terminal.

sudo apt install gparted |
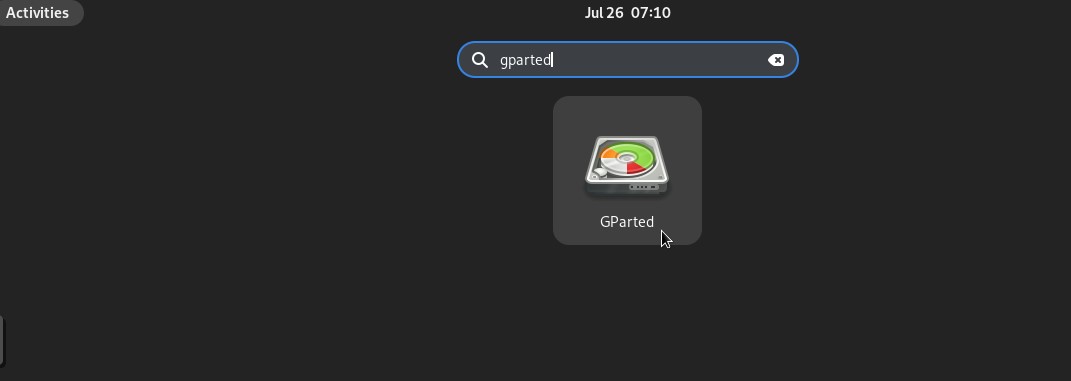
After installation of Gparted, click the left-up corner, or Activities, then type “gparted” in the top-middle search bar to run the application.
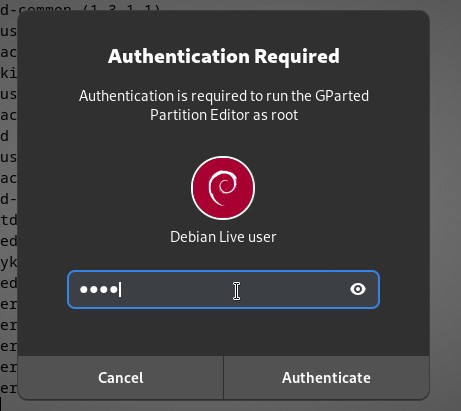
 It may ask you the Password of the Debian Live user. It is “live”.
 see the current situation of /dev/sda.
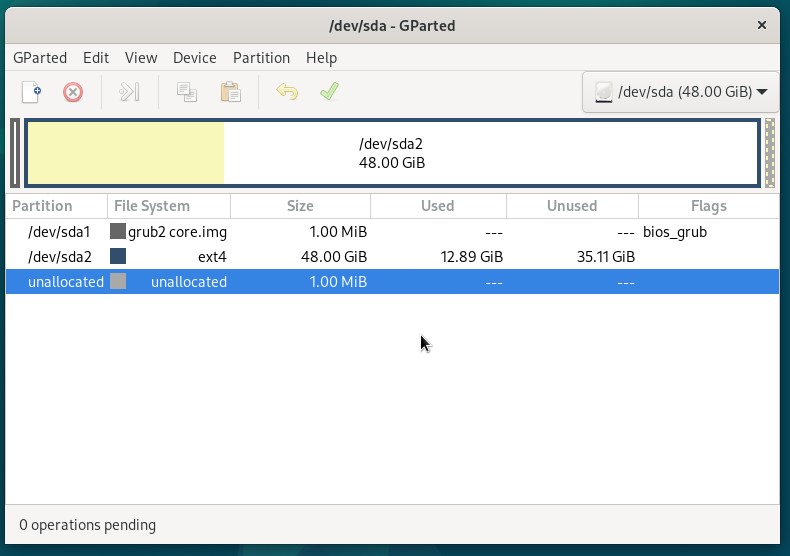
Click /dev/sda2 to select it, Menu Partition > Resize/Move
I just entered 20477 into the New size(MiB). Then click the “0” of “Free space preceding (MiB)”.

Press the “Resize/Move” button.

Click the green check mark to apply the operation. It will ask you again to confirm it.
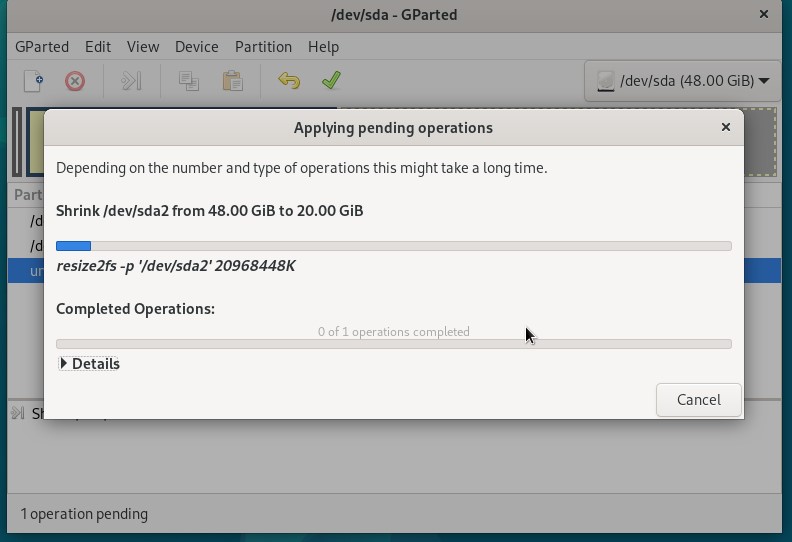
It takes a while to complete the operation.
Close the window when it is done.
Shut down the VM/ Power off the VM. Or, Stop the VM in the Proxmox VE
VM303 > Hardware > CD/DVD Drive, change it to “Do not use any media”.
Step 2
Backup GUID partition table.
In Proxmox VE Console.
root@pve:~# gdisk /dev/pve/vm-303-disk-0GPT fdisk (gdisk) version 1.0.9Partition table scan: MBR: protective BSD: not present APM: not present GPT: presentFound valid GPT with protective MBR; using GPT.Command (? for help): bEnter backup filename to save: guid-bakThe operation has completed successfully.Command (? for help): qroot@pve:~# lsguid-bak l.sh s.sh |
The file table of VM303 is saved at /root/guid-bak file.
Step 3
Resize the VM disk with LVM.
In the step 1, I reduced 28GB. Here I have to reduce less than 28GB. I prefer to give 2GB space. So the command is lvreduce -L -26G /dev/pve/vm-303-disk-0.
root@pve:~# lvreduce -L -26G /dev/pve/vm-303-disk-0 WARNING: Reducing active logical volume to 22.00 GiB. THIS MAY DESTROY YOUR DATA (filesystem etc.)Do you really want to reduce pve/vm-303-disk-0? [y/n]: y Size of logical volume pve/vm-303-disk-0 changed from 48.00 GiB (12288 extents) to 22.00 GiB (5632 extents). Logical volume pve/vm-303-disk-0 successfully resized. |
Step 4
Restore the GUID partition table.
The command is r, l, /root/guid-bak, w, y
root@pve:~# gdisk /dev/pve/vm-303-disk-0GPT fdisk (gdisk) version 1.0.9Warning! Disk size is smaller than the main header indicates! Loadingsecondary header from the last sector of the disk! You should use 'v' toverify disk integrity, and perhaps options on the experts' menu to repairthe disk.Caution: invalid backup GPT header, but valid main header; regeneratingbackup header from main header.Warning! One or more CRCs don't match. You should repair the disk!Main header: OKBackup header: ERRORMain partition table: OKBackup partition table: ERRORPartition table scan: MBR: protective BSD: not present APM: not present GPT: damaged****************************************************************************Caution: Found protective or hybrid MBR and corrupt GPT. Using GPT, but diskverification and recovery are STRONGLY recommended.****************************************************************************Command (? for help): rRecovery/transformation command (? for help): lEnter backup filename to load: /root/guid-bakWarning! Current disk size doesn't match that of the backup!Adjusting sizes to match, but subsequent problems are possible!Recovery/transformation command (? for help): wFinal checks complete. About to write GPT data. THIS WILL OVERWRITE EXISTINGPARTITIONS!!Do you want to proceed? (Y/N): yOK; writing new GUID partition table (GPT) to /dev/pve/vm-303-disk-0.Warning: The kernel is still using the old partition table.The new table will be used at the next reboot or after yourun partprobe(8) or kpartx(8)The operation has completed successfully. |
Step 5
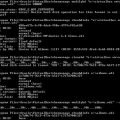
qm rescan to update the VM303 disk information.
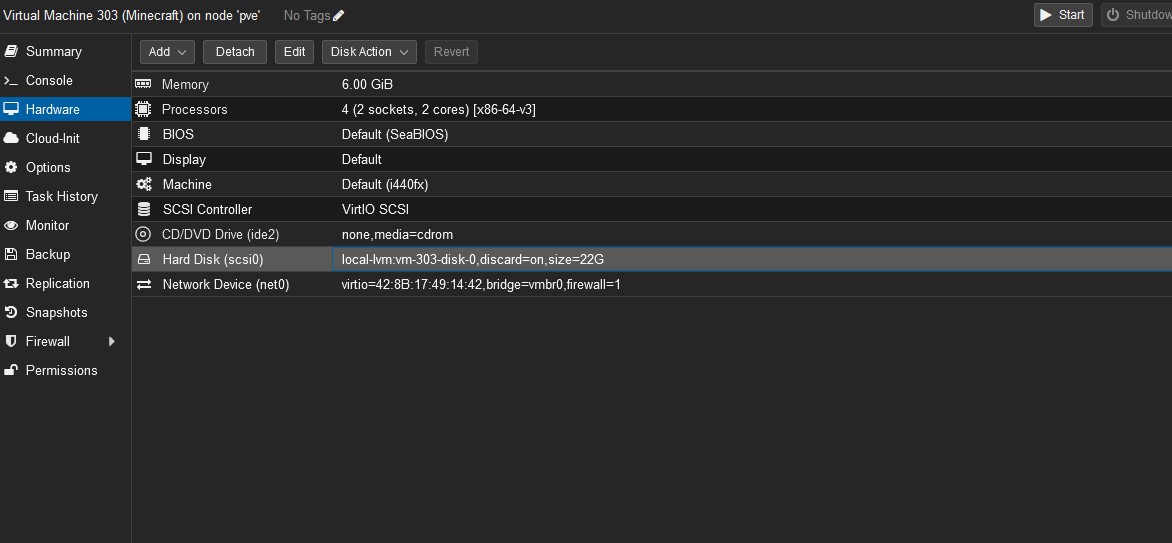
root@pve:~# qm rescanrescan volumes... WARNING: Thin volume pve/vm-303-disk-0 maps 46461222912 while the size is only 23622320128. WARNING: Thin volume pve/vm-303-disk-0 maps 46461222912 while the size is only 23622320128. WARNING: Thin volume pve/vm-108-disk-0 maps 133059510272 while the size is only 42949672960. WARNING: Thin volume pve/vm-108-disk-0 maps 133059510272 while the size is only 42949672960.VM 303 (scsi0): size of disk 'local-lvm:vm-303-disk-0' updated from 48G to 22G |
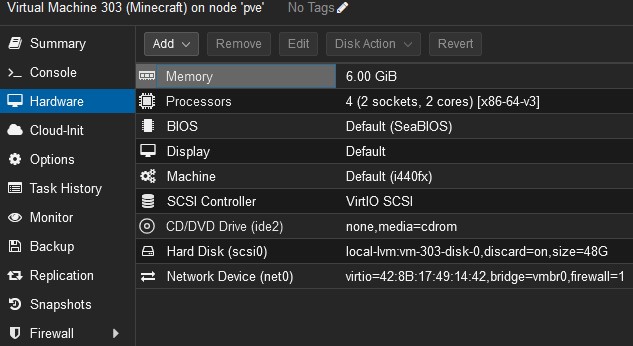
Now, I can see the 22GB of hard disk size in the Proxmox interface.
Step 6
Start the VM303.
In VM303 Console to double-check it.
Oh, enter the following command to use all the space of the VM disk.
 The total size of the disk is 22GB. 11GB used, 9.8GB available.
Make a backup. The new backup file is only 11.90GB.
After shrinking the VM disk, I made the VM size smaller and saved the space for backup.
Credit: OPS HUB