Today, I fix a broken Joycon of the Nintendo Switch. The left one. When using it, I don’t have to move the joystick, it always keeps going up.
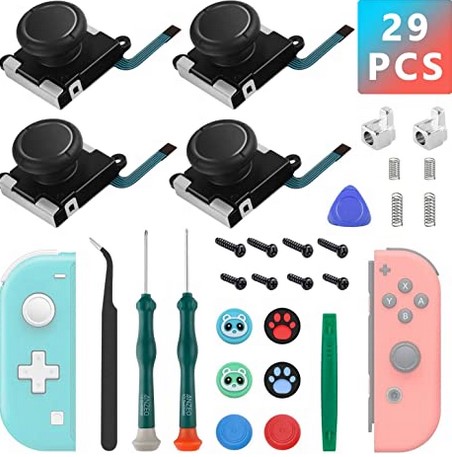
Here I am going to tell the easy part first. I ordered the “4 Pack Joycon Joysticks, Replacement Joystick Analog Thumb Sticks for Nintendo Switch, Switch Lite & Switch OLED, Joycon Repair Kit Replacement Parts Include Thumb Grips, Metal Lock Buckle” (Amazon aff link) Only US$16.99.
See how many items are inside the package. 29 pcs.

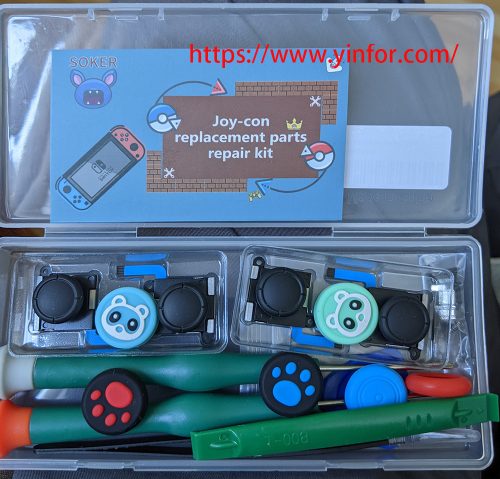
Here is the package I received in the box.

Based on the guide, it should be quite simple to remove four screws, then open the case and remove one more screw and change it.
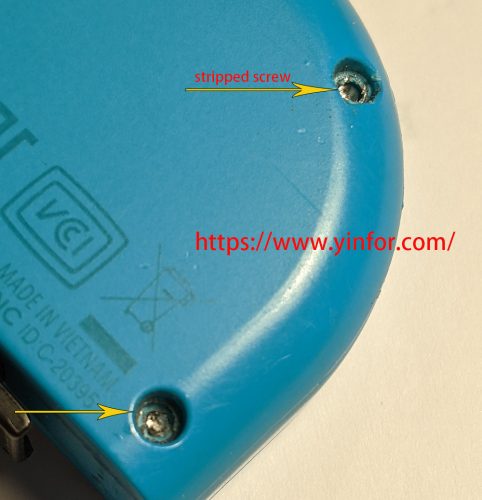
I am stuck on the first step. Because the screw head is stripped.

So, this is the hardest part to do the job. I have to dig my power tool, an electric drill, to remove the screw head.
I picked a 2mm drill bit to remove the screw head. It took me about two minutes to remove one. I need to do it patiently and slowly. Check it to see if it is OK when drilling.
When all four screws are removed, it is easy to open the case.

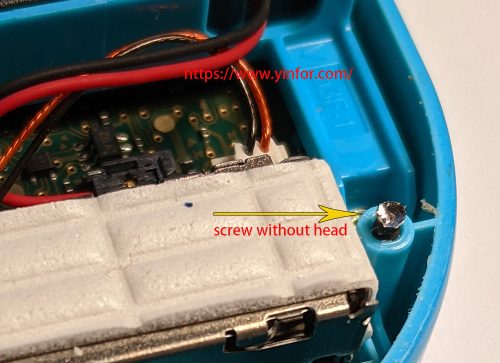
Then use the piler to remove the remaining screw by turning it. Because I will put a new screw on it later.
The rest of the replacing is not fun. I put the ifixit link here for you.
I want to write more to meet some SEO guidelines that said the post should be at least three hundred words. OK, I am working on it. I tried to remember when I bought the Nintendo switch. I bought it for Grace. She left it to her sister and brother because they can use it at home when she went to Toronto for school. So it is almost four years.