I test the Beta 1 brand new installation at my Dreamhost server. It is very easy to install it.
1) Add new sub-domain in Control panel of Dreamhost;

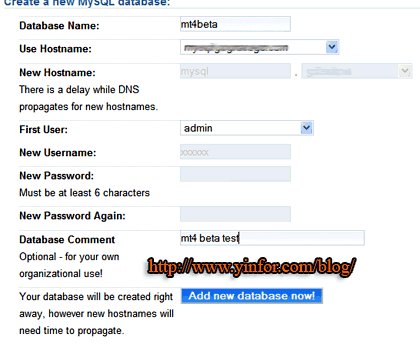
2) Add MySql database which will be needed later;
I add a database named “mt4beta” as below:
3) Login you host through PuTTY;
Use the PuTTY to login the server through SSH.
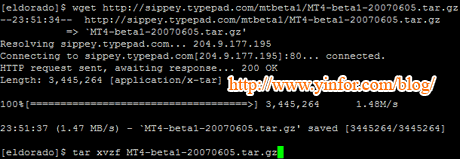
4) Get the file from web.
cd mt4.g2soft.net<br />wget http://sippey.typepad.com/mtbeta1/MT4-beta1-20070605.tar.gz |
5) Decompress the package.
6) Rename it to folder, mtcgi
mv MT4-beta1-20070605 mtcgi |
7) In your own internet browser, enter https://www.yinfor.com/blog/retired-sites-and-testing-site.htmlmtcgi/mt-wizard.cgi
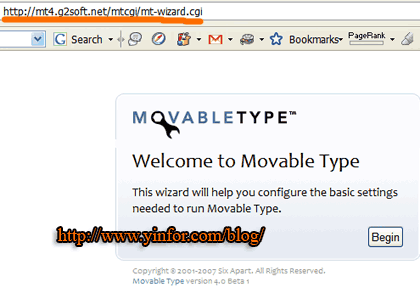
Click “Begin” button to start installation Wizard.
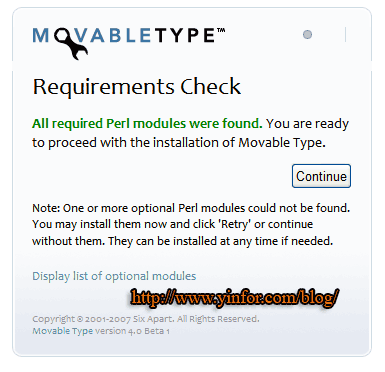
After pass requirement check, click “continure”.
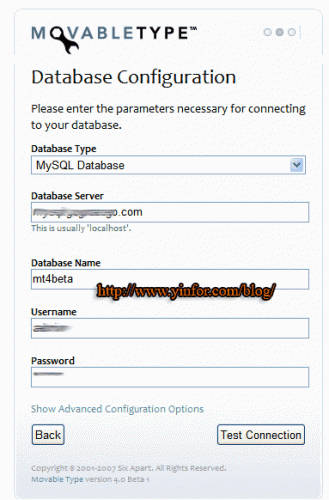
Chose MySQL database type, and fill in the database information from step 2. And click “Test Connection”.
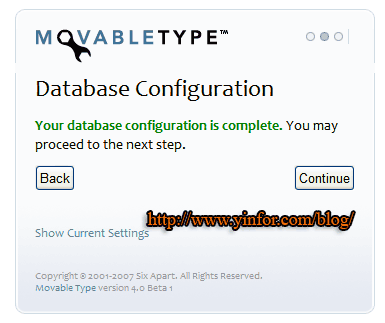
Then click “Continue” button to next step.
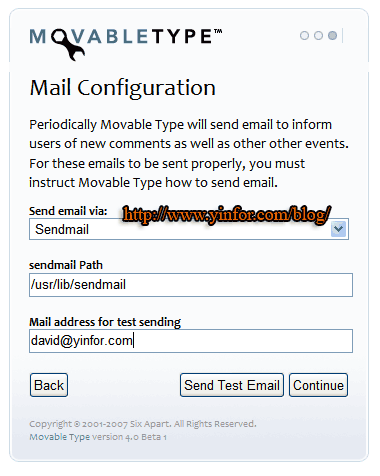
I choose sendmail as email facility. Click “Continue” to next step.
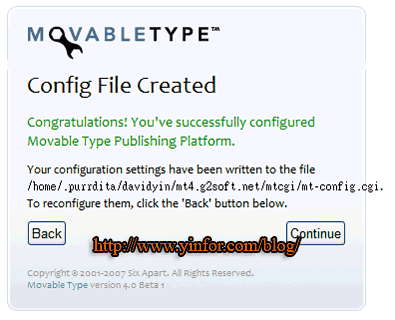
Now, the config file, mt-config.cgi, is created and written in the mtcgi folder.
The following steps are to create the first user.
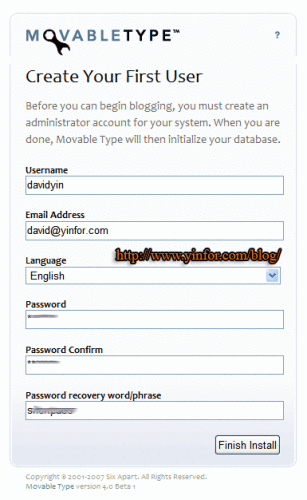
Enter the first user name and click “Finish Install”.
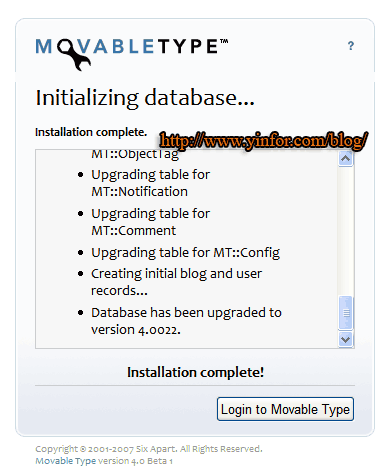
Then I can login the backend to start create Blog and start blogging.
8) Done
Now you can access the MovableType 4 Beta Unofficial Blog.




Another install guide from official site
If you like to see the installation movie, like someone else, not me, you can go to this link to see how they do it to install the MovableType 4 beta 1.I viewed it and I feel it not better…
Installation guide from ME
I write a post on my DavidYin”s Blog about how to Install MovableType 4 on Dreamhost. If you have a dreamhost hosting, and want to try this new one, just go to my blog to see how to do it….
不知道管理是否简便如wordpress呢?