I have Awstats on Windows box. I also have some posts about how to install it and config it.
Now I am a Ubuntu fans. I will show you how to install Awstats on Ubuntu server 6.10.
1) Under command line mode, or putty.
2) apt-get install awstats
This command is install Awstats. Currently it is v6.5.
3) Edit configuration file, it is located /etc/awstats/
cp awstats.conf awstats.yourhostname.conf
Change something to reflect your own settings.
LogFile="/var/log/apache2/access.log"LogFormat=1DNSLookup=1DirData="/var/cache/awstats/"DirCgi="/cgi-bin"DirIcons="/icon"SiteDomain="yourhostname"AllowToUpdateStatsFromBrowser=1AllowFullYearView=3 |
4) Make a directory called /var/cache and chmod it 777 so it can be used from the web server
mkdir /var/cachechmod 777 /var/cache |
5) Copy icons to web directory:
cp -r /usr/share/awstats/icon /var/www/icon |
6) Run this to update databases:
/usr/lib/cgi-bin/awstats.pl -config=yourhostname -update |
7) In your web browser, go to the url:
http://hostname/cgi-bin/awstats.pl?config=yourhostname
8) Edit crontab to update stats automatically every night:
crontab -e0 1 * * * /usr/lib/cgi-bin/awstats.pl -config=yourhostname -update |
In step 3
I use ubuntu.g2soft.net to replace “yourhostname”
In other steps
I use ubuntu to replace “yourhostname”
Related posts:
 Some problems when Install ispconfig on Ubuntu 6.10 Server
 Install Zend Optimizer 3.2.8 on Ubuntu 7.04 Server
 Upgrade Ubuntu 6.10 server to 7.04 server
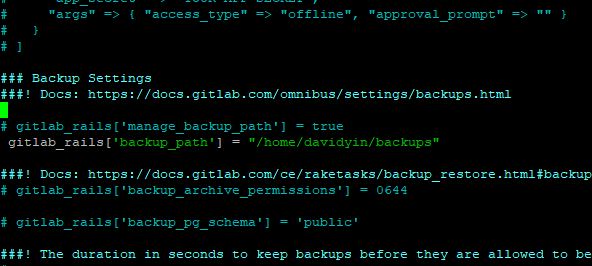 Migrating GitLab to another Server from Ubuntu 16.04 to Ubuntu 18.04
 Install WordPress on Ubuntu with LAMP
 Install Ubuntu from USB disk
 How to install HHVM, Nginx, MariaDB in Ubuntu 14.04 LTS