I bought an ESP32-CAM board and an FTDI (YP-05) board in July. It was hard to find time to play them until yesterday.
Here is what I got.
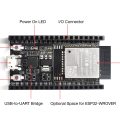
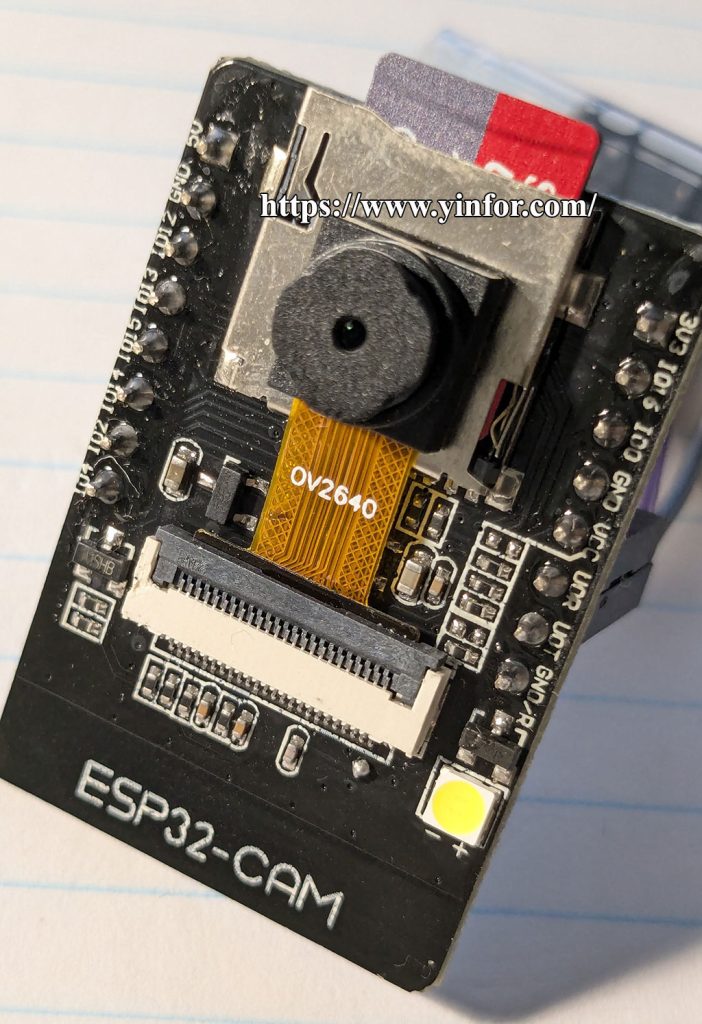
ESP32-CAM board


The Specification:
Working voltage 4.75-5.25V
SPIFlash default 32Mbit
RAM internal 520KB + external 8MB PSRAM
Wi-Fi 802.11b/g/n/e/i
Bluetooth Bluetooth 4.2BR/EDR and BLE standard
Support interface (2Mbps) UART, SPI, I2C, PWM
Support TF card, maximum support 4G
IO port 9
Serial port rate default 115200bps
Spectrum range 2400 ~2483.5MHz
Antenna form Onboard PCB antenna, gain 2dBi
Image output format: JPEG (only OV2640 support), BMP, GRAYSCALE
Packaging method DIP-16
Transmit power 802.11b: 17±2dBm (@11Mbps)
802.11g: 14±2dBm (@54Mbps)
802.11n: 13±2dBm (@MCS7)
Receiving sensitivity CCK, 1Mbps: -90dBm
CCK, 11Mbps: -85dBm
6Mbps(1/2BPSK): -88dBm
54Mbps (3/464-QAM): -70dBm
MCS7 (65Mbps, 72.2Mbps): -67dBm
Power consumption Turn off the flash: 180mA@5V
Turn on the flash and adjust the brightness to the maximum: 310mA@5V
Deep-sleep: The lowest power consumption can reach 6mA@5V
Moderm-sleep: the lowest can reach 20mA@5V
Light-sleep: the lowest can reach 6.7mA@5V
Security WPA/WPA2/WPA2-Enterprise/WPS
Working temperature -20 ℃~ 70 ℃
Storage environment -40 ℃~ 125 ℃, <90%RH
The ESP32 board has an ov2640 camera. This board has no USB port. So I need an FTDI device to connect to the computer.
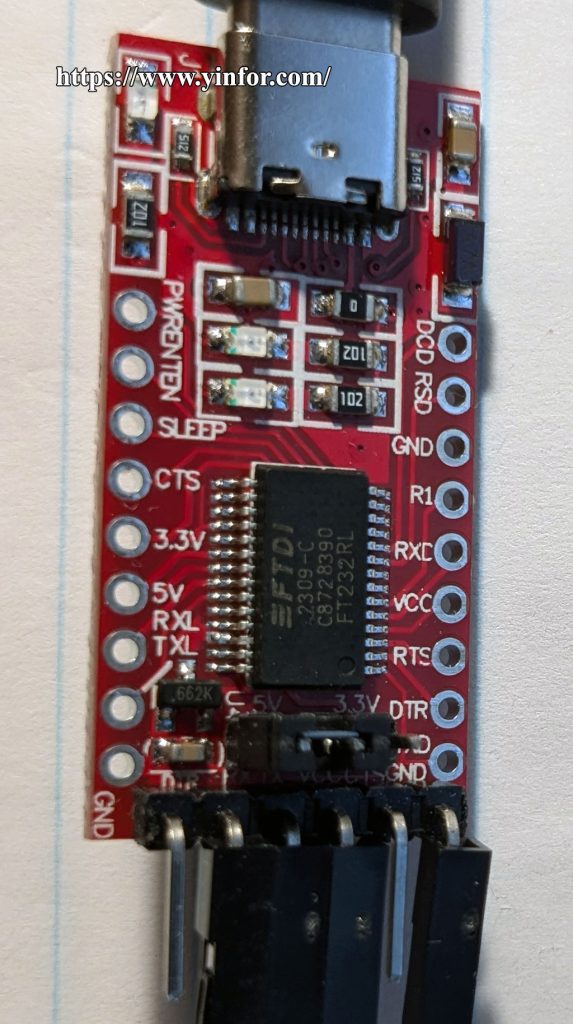


Specification:
· Using FT232RL chip of FTDI;
· Lead out all signal ports of FT232RL chip, TTL/CMOS level;
·RXD/TXD transceiver communication indicator light;
·USB power supply, optional 5V or 3.3V interface level (if other levels are required, the target voltage can be supplied directly on the VCC and GND pins).
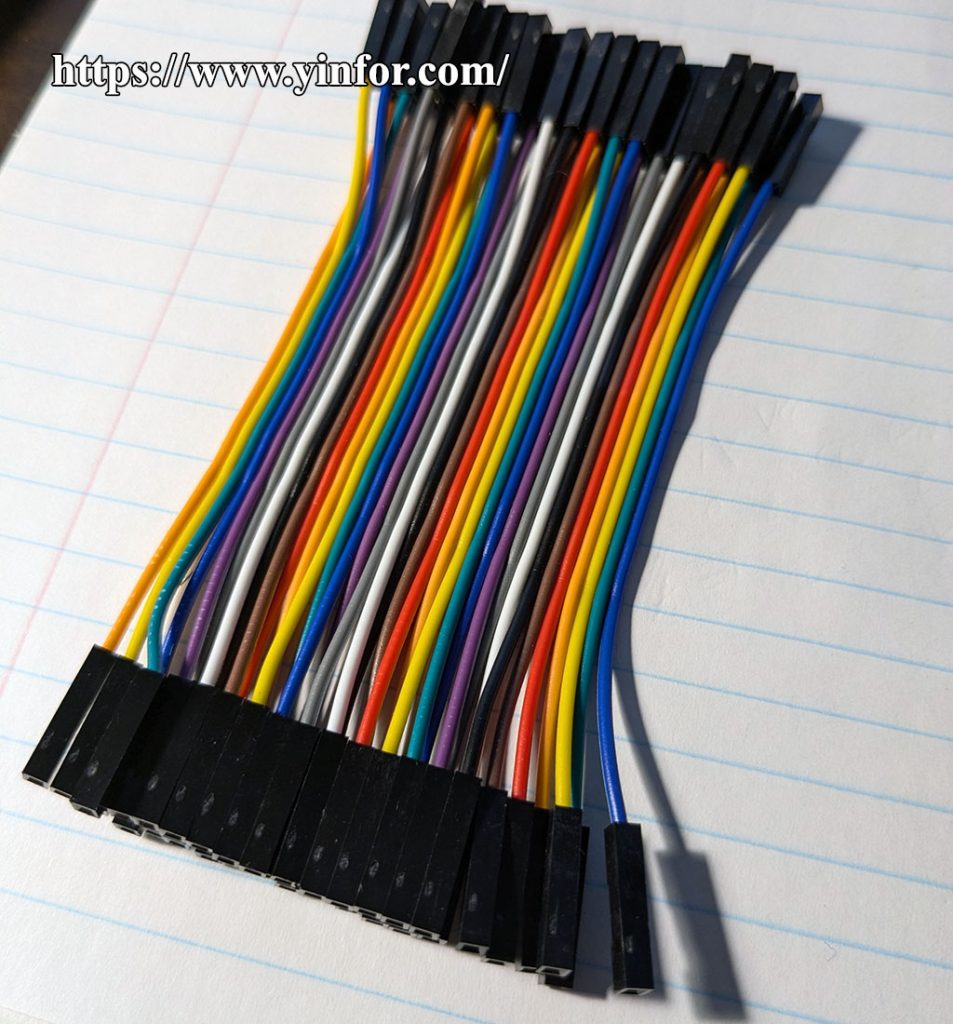
And last, I need a female-to-female Jumper Wire Dupont Cable.

I followed the instructions on Random Nerd Tutorials.
The first step is to connect them for programming.
How to Program / Upload Code to ESP32-CAM AI-Thinker (Arduino IDE)


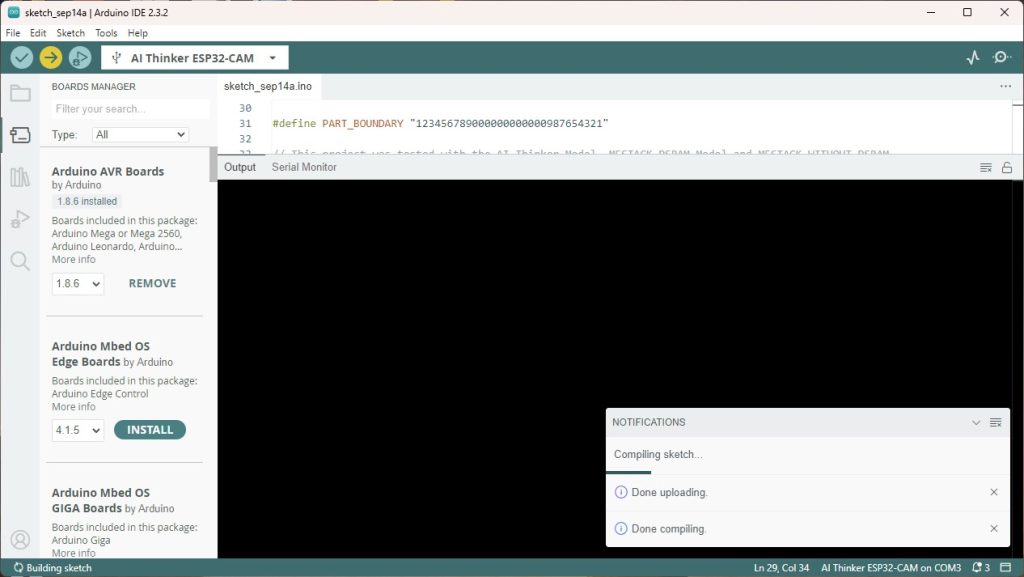
My stuff is as follows. The FTDI board is USB Type-C. I used a UGreen USB Type A to Type C cable to connect it. I also have a SanDisk Ultra 16GB MicroSD card plugged in for storage.
I do use Arduino IDE to program and upload it.

The first trial is to make it a camera.
ESP32-CAM take photo and save to MicroSD card.
It works. But the photo is kind of tinted or blue/green. With Flash, but no help.
The second trial is to make it a streaming web server.
ESP32-CAM Video Streaming Web Server (works with Home Assistant)
The color of the picture is OK. But the Web server is kind of slow. I have to wait for the picture to load. Just like twenty-five years ago. I dialed up to get an Internet connection with a 14.4kbps modem.
After a while, I feel the board is hot when I unplug it.
The last one I tried yesterday was a photo web server.
ESP32-CAM take photo and display in Web Server.
The slow-loading picture is still the problem. The board is also hot.
I thought the problems above are related as below:
- WiFi connection with internal antenna. (Maybe the external antenna can solve the problem)
- Processor is not strong enough?
- OV2640 camera module is hot?
- Code issue?
I have no idea. Someone said to add a heatsink. Someone said the code/program is too heavy for the ESP32.
If you know why, please leave your comment.